Step-by-Step Guide to Ethernet Setup for Laptops

Ethernet provides a way of connecting your laptop and other computers using the local area network set up for companies, offices, and employees. The benefit of using the Ethernet is to allow the people to effortlessly share files and information with each other without any obstruction. Another use of Ethernet is a local wired internet connection in your home. The question now for beginners like you is how to connect ethernet to laptop that you brought to your company. Here is the step-by-step guide to help you do it from start to finish.
How to Set Up the Ethernet on Your Laptop
Get an Ethernet cable adapter
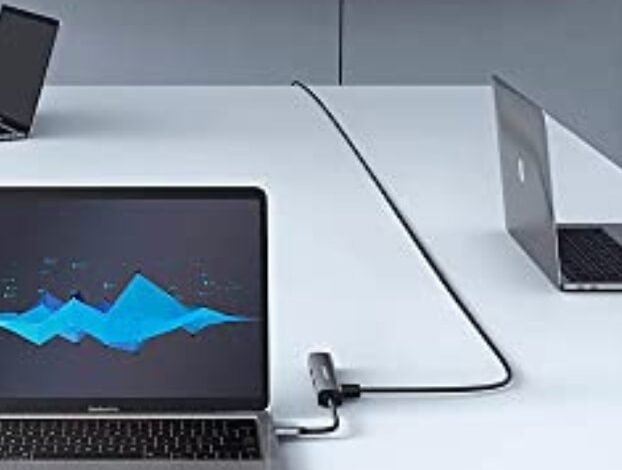
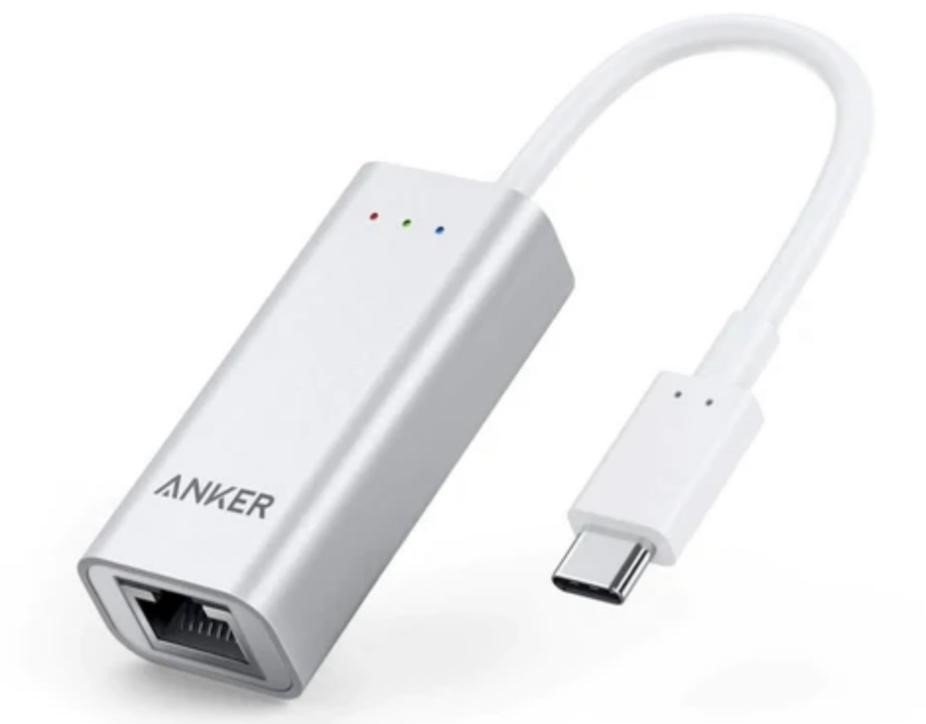
To answer the question of how to connect ethernet to laptop right now, what you first need to do is to purchase an Ethernet adapter. Most older laptops still have an Ethernet port on the side or back of the unit. But the newer ones, because of the thinness of the assembly, do not have Ethernet ports on them. You will have to buy an Ethernet cable that converts the USB-C port into an Ethernet port. It acts as an adapter so that you can plug your Ethernet connector on the laptop. You can browse Anker Ethernet adapters to get reliable and durable products that will last a long time.
Connect to your router
The next step that you should do is to connect the Ethernet cable to your router or local network server, depending on the type of use that you want for your Ethernet. You can do this by using the Ethernet cable that you have at home or in the office. You can also buy one with a sufficient length. It will allow you to reach your local router. You have to make sure that you buy a router that is resistant to damage so that you do not have to be disrupted every time you connect to the Ethernet.
Check your router
After connecting your laptop to your router through the Ethernet cable, you can now check if your router is working. Your router will only function well if it is connected to your modem or local area network. You should check the lights and warnings shown on your network or modem. You should also ensure that your Ethernet cable from the modem to the router also works. If all is well, you can now move to the next step.
Configure the Ethernet Settings
As you connect all your devices, you can then configure the settings on your laptop. This may vary depending on the brand of device that you have. But generally, you have to go to your networks and internet settings, click on the Ethernet option, and connect to it. You can also make changes to this setting by clicking on other adapter options and the network center. After doing this, you are now ready to test your network connection. If it is not working, go through the steps once again and check your cables and wires.

Conclusion
It is very easy to know how to connect ethernet to laptop because of the advancement in technology that computers have right now. Most of the laptop accessories today are plug-and-play with little setup. You must do the step-by-step process of connecting your laptop to the Ethernet. Having an Ethernet connection allows you to have a seamless and smooth internet connection. It also makes your employee-to-employee interaction hassle-free. When you have tested everything and it still does not work, you have to check your laptop settings and the cables once again to know what changes you need to make.


